A welder’s helmet is more than just a piece of equipment; it’s a critical piece of personal protective equipment (PPE) that stands as the first and most important line of defense against the intense light, heat, and spatter of the welding arc. While traditional passive helmets offer reliable, constant protection, the modern auto darkening welding helmet provides an unparalleled level of convenience and efficiency. It allows you to see clearly before the arc is struck and then instantly darkens to a pre-selected shade the moment you start welding.
But what if that instant response fails? A malfunction in your auto-darkening helmet could lead to a painful and dangerous condition known as “arc eye” or a permanent injury to your vision. Therefore, knowing how to test auto darkening welding helmet functionality is not just a good practice—it’s an essential part of your safety routine. This article will provide you with a detailed, step-by-step guide on how to properly inspect and test your helmet, ensuring it is always ready to protect you when you need it most. We’ll cover everything from simple visual inspections to specialized tests and troubleshooting common issues, empowering you to weld with confidence and peace of mind.
The Importance of a Functioning Welding Helmet
Every time a welding arc is struck, it produces an intense and brilliant flash of light. This is not just visible light; it’s a powerful cocktail of infrared (IR) and ultraviolet (UV) radiation. Exposure to these rays, even for a split second, can cause significant eye damage. The cornea, the lens, and even the retina can be injured, leading to temporary but excruciating conditions like photokeratitis (welder’s flash) or, in severe cases of prolonged exposure, permanent vision loss. The auto darkening welding helmet is engineered to prevent this by automatically activating its light-sensitive lens in less than a millisecond. However, relying on this technology without a proper check is a dangerous gamble. A dead battery, a dirty sensor, or a faulty circuit could mean the lens fails to darken, leaving your eyes completely unprotected. Consequently, a quick and effective test is the only way to ensure your helmet’s sophisticated technology is working as intended before you ever strike an arc. Understanding the underlying technology of these helmets can provide valuable insight into why these tests are so important. For a deeper dive into the mechanics of how these amazing devices work, you can read our comprehensive guide on how auto-darkening welding helmets work.

Step-by-Step Guide: How To Test Auto Darkening Welding Helmet
A thorough helmet test involves both a physical inspection and a functional check. It’s best to perform this routine before every welding session, or at a minimum, at the start of each workday. It only takes a few moments and can save you from a world of pain and potential injury. Let’s walk through the process step-by-step.
Pre-Welding Checklist: The Visual and Manual Inspection
Before you even think about turning on the power, a careful visual and manual inspection can reveal potential issues that would cause a failure. Think of this as the foundation of your safety check.
Step 1: Check the Lenses
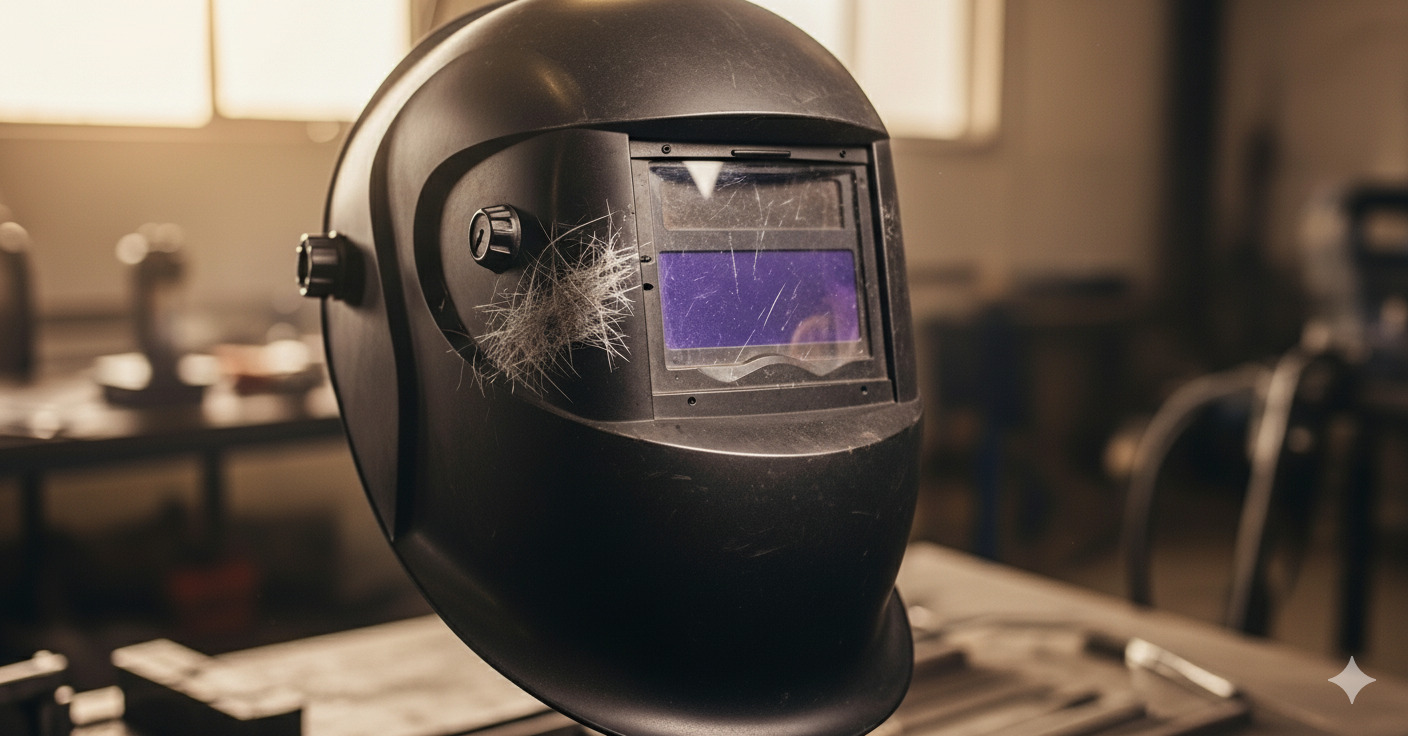
Begin by inspecting the outer and inner protective lenses. Look for any deep scratches, cracks, or pits caused by welding spatter. A heavily scratched outer lens can scatter light and affect the sensors’ ability to detect the arc correctly. Furthermore, check the cleanliness of the main auto-darkening filter itself. Dust, dirt, and smudges can impede its performance. If your helmet has been sitting for a while, it’s a good idea to give it a quick wipe down. For a comprehensive guide on keeping your helmet in top condition, you can check out this article on how to clean a welding helmet lens.

Step 2: Inspect the Sensors
The sensors are the “eyes” of your helmet. A dirty or blocked sensor can prevent the lens from darkening. Ensure the sensors on the front of the helmet are clean and free of any spatter or debris. Use a soft cloth to gently wipe them down. If you notice any stubborn spatter, be careful not to scratch the sensor itself while cleaning.
Step 3: Check the Power Source
Most modern auto-darkening helmets are powered by a combination of a solar cell and user-replaceable batteries. If your helmet relies on replaceable batteries, open the compartment and check for any corrosion and ensure the batteries are properly seated. If you haven’t replaced them in a while, it’s always best to have a fresh set on hand. While the solar cell provides a continuous trickle charge from the welding arc, it cannot power the helmet on its own without the help of a battery. Therefore, a dead or low battery is one of the most common reasons for a helmet failure. Never assume the solar cell alone is enough to keep your helmet powered and ready to go.
Step 4: Verify the Headgear and Shell
Finally, inspect the helmet shell and the headgear. Look for any cracks or damage that could compromise the integrity of the helmet and its ability to protect you from flying debris. Ensure the headgear is securely attached and that all adjustment mechanisms (ratchets, knobs) are working correctly. The helmet should fit snugly and comfortably, but not so tight that it restricts blood flow. The headgear should also allow the helmet to be easily lowered and raised and hold its position when needed.
The Functionality Tests: The “Flash” Test
Once the physical inspection is complete, you need to perform a functional test to confirm that the lens is indeed darkening correctly. There are several methods you can use, ranging from simple and quick to professional and precise.
Method 1: The Sunlight Test
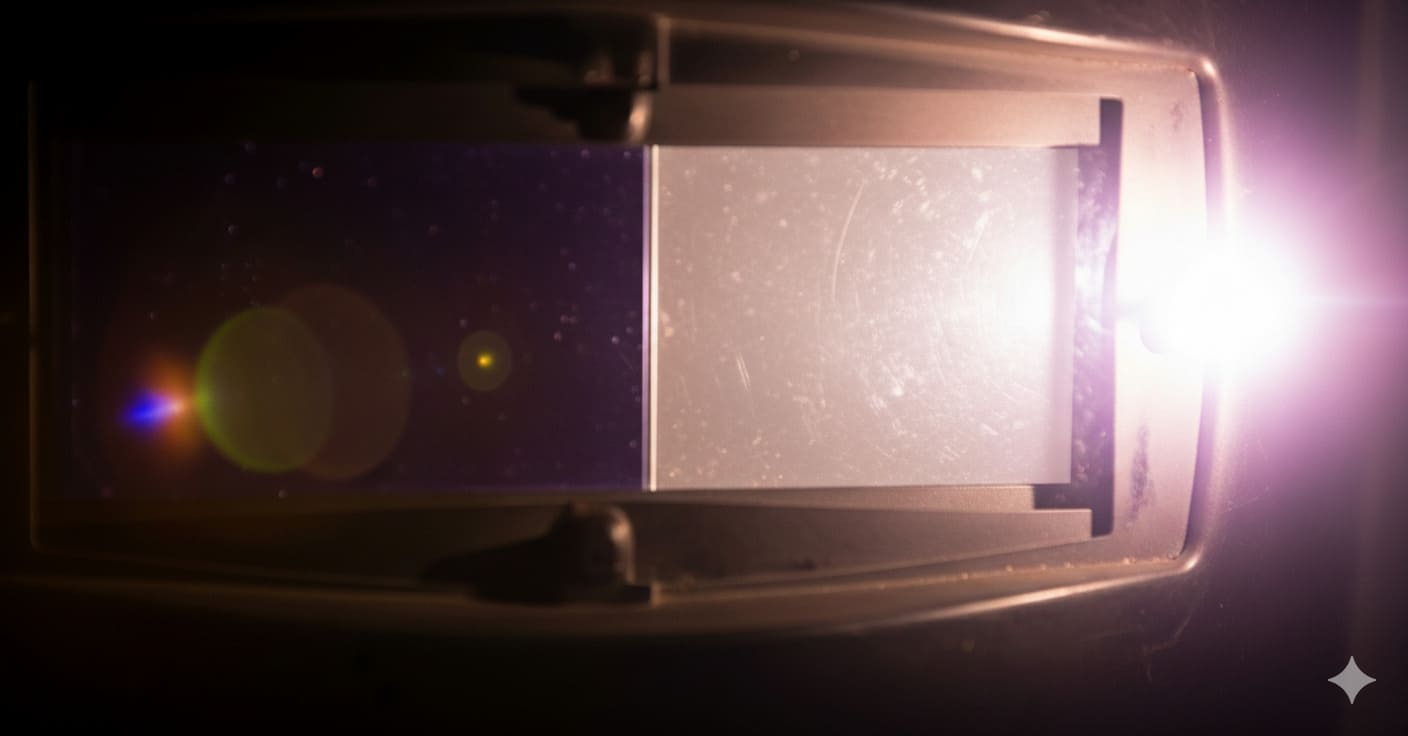
The simplest and most common test for an auto-darkening welding helmet is the sunlight test. Simply point the helmet’s sensors directly at the sun. As the sensors are triggered by the intense light, the lens should immediately darken. While this is a quick way to verify basic functionality, it’s not the most reliable test as sunlight doesn’t provide the same rapid flash as a welding arc. However, it’s a good starting point to confirm that the lens is not completely dead.
Method 2: The Lighter or Flashlight Test
A more controlled and reliable method is to use a common lighter or a powerful LED flashlight. Hold the helmet in one hand and position the lighter or flashlight a few inches away from the sensors. Activate the lighter’s flame or turn on the flashlight and observe the lens. It should darken instantly. This test is much safer than using sunlight and gives you a better sense of the helmet’s reaction time and performance. Some high-quality flashlights can simulate the sudden burst of light from an arc more accurately than others. If you are using a lighter, make sure to test each sensor individually by covering the others to confirm they are all working.
Method 3: The Dedicated Helmet Tester
For the most reliable and precise test, a dedicated welding helmet tester is the way to go. These small, handheld devices are specifically designed to simulate the light of a welding arc. You simply point the tester at the helmet’s sensors and press a button. The device emits a controlled flash of light, and the helmet’s lens should darken instantly. These testers are an invaluable tool for professional welders and shops where safety is non-negotiable. They eliminate the guesswork and provide a confident, repeatable way to check for proper function before you begin a job. While this is a professional-level tool, some welders, particularly those in critical industries, consider it a standard part of their kit.
Testing Advanced Features and Settings
A modern auto darkening welding helmet has more than just a simple on/off function. You should also take a moment to verify that the key settings are working correctly.
Testing the Sensitivity and Delay
The sensitivity setting determines how bright the light has to be to trigger the lens to darken. The delay setting controls how long the lens stays dark after the arc is broken. To test these, use your flashlight or dedicated tester and adjust the sensitivity dial. You should notice a change in the required light level to trigger the darkening. Similarly, when you turn the light off, you can visually observe the change in the time it takes for the lens to return to its light state. It should be a noticeable difference between the “short” and “long” settings. Testing these functions ensures you can properly calibrate your helmet for different welding processes and environments.
Testing the Shade Level Adjustment
The shade level dial is a critical feature, allowing you to select the appropriate darkness for your welding application. To test this, simply turn the dial from its lowest setting (e.g., shade 9) to its highest (e.g., shade 13). You should be able to feel the clicks and the dial should move smoothly. While it is difficult to visually verify the exact shade change without specialized equipment, a functional shade dial is a good sign that the internal circuitry is working as it should. It’s important to remember that the correct shade level is determined by the welding process and amperage. A higher amperage weld requires a darker shade to protect your eyes. For instance, a shade 9 might be suitable for low-amp TIG welding, while a shade 13 is needed for high-amp stick or MIG welding. Always consult a shade chart to select the correct shade for the task at hand.
Common Problems and Troubleshooting
Even if you’ve been meticulous about your checks, issues can still arise. Knowing how to troubleshoot common problems can often save you from having to replace your helmet. Here are some of the most frequent issues and their solutions.
The Lens Flickers or Fails to Darken
The most common cause of this issue is a dirty sensor or a low battery. First, try cleaning the sensors and then check or replace the batteries. If the problem persists, it could be an issue with the sensitivity setting. If the sensitivity is set too low, the helmet might not be able to detect a low-amperage arc, causing it to flicker. Try adjusting the sensitivity to a higher setting. Another, less common cause is cold temperatures. The LCD filter in an auto-darkening helmet can slow down in extremely cold environments, leading to a delayed or failed reaction. For more information on how temperature affects LCDs, you can refer to this journal entry from FocusLCDs. If none of these solutions work, the internal circuitry might be damaged, and it may be time to consider a replacement.
Note: Certain welding helmets have a “grind mode” that disables the auto-darkening sensors. This feature is great for when you need to use an angle grinder, as it keeps the lens clear and eliminates the need for a high shade level.
The Lens Stays Dark
If your lens is stuck in a dark state, the most likely culprit is a dead battery. Try replacing the batteries, or if your helmet has a non-replaceable battery, expose it to a bright light source for a long period to see if the solar cell can charge it. Another possibility is a faulty switch or an internal circuit issue. In this case, there may be a short or a component failure that is keeping the voltage applied to the LCD filter. A professional helmet repair shop might be able to help, but often, this is a sign that the helmet has reached the end of its life.
When to Replace Your Helmet
Even the highest quality helmets have a limited lifespan. A helmet’s auto-darkening functionality can degrade over time, and its shell can become brittle and damaged. You should consider replacing your helmet if you notice any of the following signs:
- The lens fails to darken after you’ve checked or replaced the batteries.
- The lens flickers or flashes intermittently during welding, even after cleaning the sensors.
- The helmet shell is cracked, especially around the viewing area.
- The headgear is broken and can no longer hold the helmet in place securely.
- You notice the reaction time is consistently slower than it used to be.
Ultimately, your safety is paramount. If you have any doubts about your helmet’s performance, it is always better to err on the side of caution and replace it. For some of the top-rated and most reliable helmets on the market, you can check out this guide on the best auto darkening welding helmets.
Why a Passive Helmet is Still a Valid Backup
While auto-darkening helmets have become the industry standard, many welders still keep a traditional passive helmet on hand. A passive helmet, with its fixed-shade lens, requires no batteries or electronics and is virtually foolproof. It’s an excellent backup plan in case your primary auto-darkening helmet’s batteries die or it malfunctions on a job site. Understanding the pros and cons of both helmet types is important for any serious welder. For a deeper look at the different kinds of helmets available, you can read more here: types of welding helmets.
Final Thoughts
Knowing how to test auto darkening welding helmet is a fundamental skill that every welder must possess. It’s a simple routine that takes only a few minutes, but it provides the critical assurance that your eyes are protected from the very real and immediate dangers of the welding arc. From the quick check with a lighter to the precision of a dedicated tester, there are multiple ways to ensure your helmet is in perfect working order. Remember, no job is so urgent that it is worth risking your eyesight. By making helmet testing a regular part of your pre-welding checklist, you’re not just being a safer welder—you’re being a smarter one. Weld safely, weld confidently, and always, always test your gear.
Amranul is a highly experienced product review writer with a passion for helping readers make smart, informed purchasing decisions. Since 2018, he has specialized in thoroughly researching and analyzing a wide range of products to deliver honest, in-depth reviews. Amranul combines technical accuracy with clear, engaging writing to break down complex product features and highlight true user value. Look for his reviews to find reliable information and expert insights you can trust before you buy!


